Camera calibration determines optimal parameters for the cameras. These parameters include the focal length and the transform from one camera to the other. More on the parameters being optimised for camera calibration can be found on the input page.
The calibration requires two steps, creating the nbs recording and using it to find the camera parameters.
Get the Data
Change
test/camera.roleto includesupport::logging::DataLoggingBuild using
./b buildand then install onto a robot using./b install n<number>. More on building can be found on the Getting Started page or the Build System page.On the robot, enable compressed image recording in
config/DataLogging.yaml. Do this by settingmessage.output.CompressedImagetotrue.Ensure the Left and Right camera serial numbers are correct in their respective configuration files (
Left.yamlandRight.yaml).The serial numbers can be retrieved by first running
lsusband finding the bus and device numbers for the FLIR/Point Grey cameras. Then runlsusb -s <bus number>:<device number> -vto find the serial numbers.Next you need to figure out which serial number is left and which is right. Change the serial number for one camera to an incorrect number (this ensures it's not found when running test/camera). Enable
message.output.CompressedImageinNetworkForwarder.yaml. Run./test/cameraand test which camera is working by covering one camera and seeing the resulting image in the NUsight vision tab. Alternatively, you could unplug one camera rather than change the serial number. If the serial number is on the wrong camera configuration file, switch them.Check the focus of the lenses using the NUsight vision tab. If it is not sharp, focus the camera. This involves pulling the camera out from the head, still plugged in, and loosening the three grub screws. Twist until the camera is focused.
Check the transformation matrix from the left camera to the pitch motor (Hpc) is correct in the
Left.yamlfile. This should be the transformation matrix from the camera to the end of the rigid body, i.e. the pitch motor as used in forward kinematics. Currently this is 69.952mm in , 33.795mm in , 64.88mm in , and a positive -axis rotation of . In SI units the matrix isRun
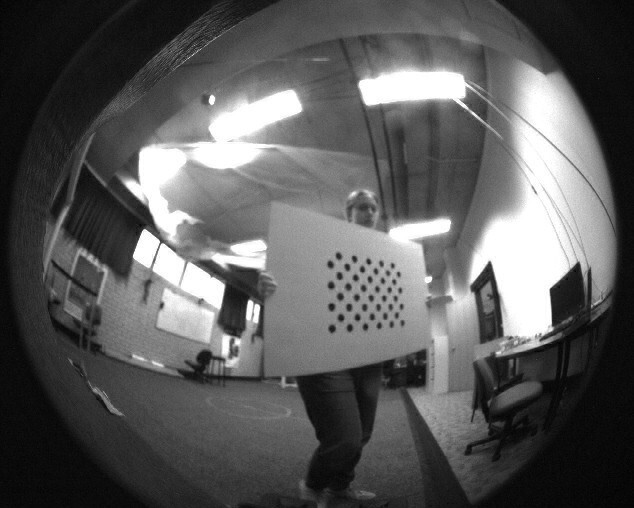
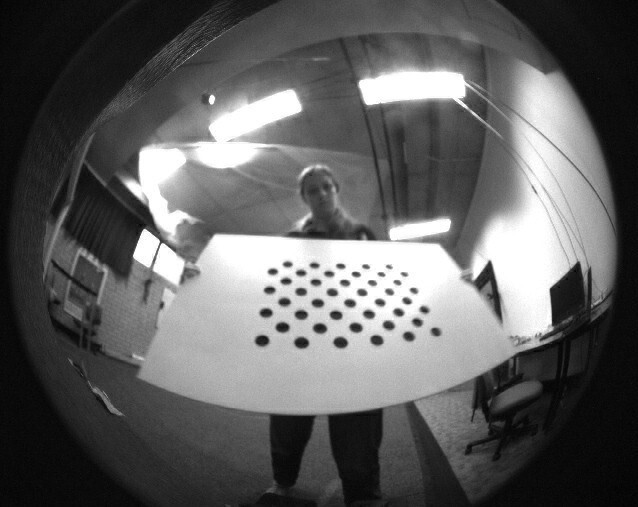
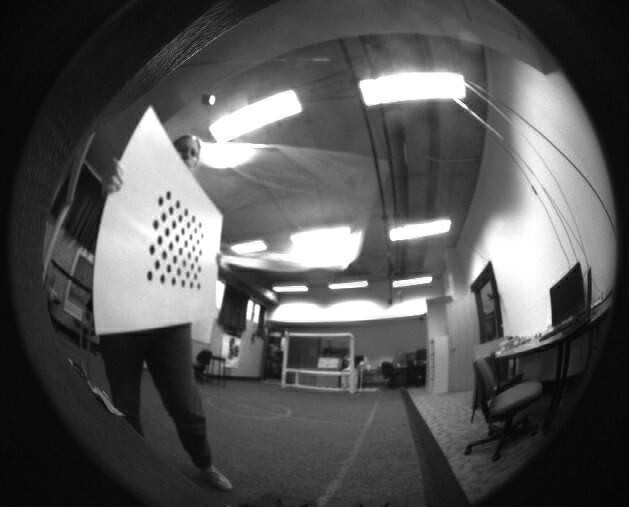
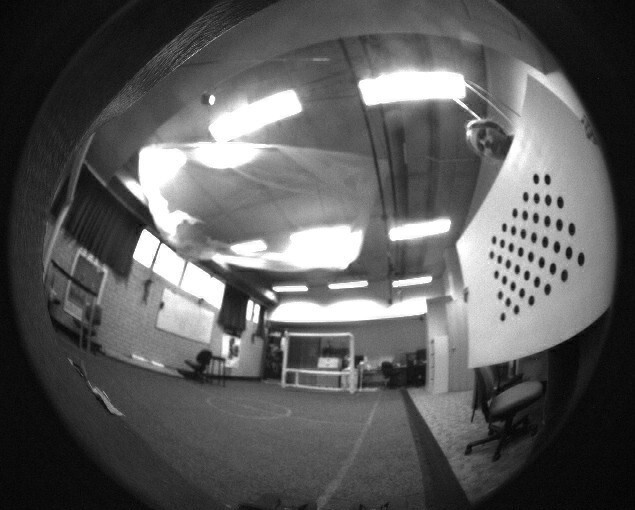
./test/cameraon the robot and hold up a board as shown in the below image. There is an appropriate board in the NUbots laboratory. Move the board around to cover the robot's view over time, taking into account that the lenses have a field of view. Move the board around at different distances and angles.Asymmetric circles grid used for calibration. ![A person holding a board in the middle of the photo]()
![A person holding a board at the bottom of the photo]()
![A person holding a board to the left]()
![A person holding a board to the right]()
Photos from the robot's cameras of a person moving around a board for camera calibration. Stop the binary and copy the
nbsfile created into the NUbots directory on your computer.To stop the program running, hit Ctrl + c.
Discover the name of the log file created. The file is in the
log/test/camera/folder on the robot. The name corresponds to the date and time it was created, according to the robot. Runls log/test/camera/to list all logs.(optional) Rename the log file, making it easier to copy across to the computer. Change the name with the command
mv <old path> <new path>.Run the command
scp <robot address>:<file path> .from the NUbots directory on your computer, not on the robot.The robot can be turned off at this point. The recording you just made should be on your computer in the NUbots directory. Check that it is before continuing to the next section.
Run the Optimisation
Run the following commands to install the dependencies of the camera calibration tool if you have not done this before
sudo apt updatesudo apt install protobuf-compiler libprotobuf-devsudo -H pip3 install --upgrade pipsudo -H pip3 install tensorflow opencv-contrib-python ruamel.yamlCalibrate the cameras by running
./b nbs calibrate_cameras <nbs file name> -c <camera config folder><nbs file name>is the name of thenbsfile you just created.<camera config folder>is the path to the folder with the two camera config filesLeft.yamlandRight.yaml. These exist in./module/input/Camera/data/config/<robot name>/Cameras/.The calibration routine changes the values in the camera configuration files.
Verify these values by running vision and checking the output in NUsight.
- Ensure
NetworkForwarder.yamlhas enabled compressed images (message.output.CompressedImage) and vision objects. - Stand the robot up with
./scriptrunner Stand.yaml - Face the robot towards a straight horizontal line, such as a line of bricks on a brick wall.
- Run
./test/visualmeshand switch to the vision tab in NUsight
NUsight should show a blue horizontal line, drawn at a constant height along the wall. If this is the case, then the calibration is verified.
- Ensure
Repeat this process with other robots if needed.
Commit these changes in a new branch on GitHub and make a Pull Request. Read the Git guide if you are unsure about this step.


